
Insta 101: How to Take the Perfect Instagram Pic!
Here’s a shocking statistic for you. Every two minutes, humans take more photos than ever existed 150 years ago. Give that a second to digest! So, if we’re all taking so many photographs, we may as well make them good.
Instagram is one of the places the bulk of our photos are posted. Each day, over 95 million photos and videos are uploaded to the app. Isn’t that amazing?
We’ve been taking a look at Project Nord’s tagged photos on Instagram and we love how creatively you’ve styled our posters in your imagery! So, we wanted to compile everything we’ve learnt from those photos and more in one place!
Let us present to you the ultimate Insta 101 - our guide to take the perfect Instagram pic. Read this article and then get snapping! We can’t wait to see what you come up with.
What are the steps to take the perfect Instagram picture?
Minimalist images tend to look the best
Seeing as Instagram feeds are presented in a grid, simple photos work best. This means that your feed will never end up looking too busy. Instead, it’ll be pleasing to scroll through and viewers will be able to take in each photo individually. Keep this in mind when you’re choosing which picture to upload.
Use as much natural light as possible
Unless you’re a professional photographer, it’s difficult to get light balances right. So, rely on Mother Earth and see what the sun’s saying before you take your photo. If possible, wait around until that smoldering point in the day called ‘golden hour’. At this time, as the sun is just setting, you’re sure to get a beautiful pic, no matter what you point your camera at!
Follow the rule of thirds
Yes, this one might sound a bit techy. But, just hear us out! Most phone cameras have the option to show a grid when you take photos. This normally appears as four lines across your screen so that it’s split into nine individual boxes. If you consider what falls in each of your boxes before you press capture, you will end up with a more balanced image. For example, keeping your subject within the central boxes will create a lovely, symmetrical photo. Or, arrange some elements on the left side of the image as this is the most eye-catching part of a composition. Do you know why this is? It’s because we read from left to right! This little tip will help your photos look super professional. We spoke about the beginning of grid systems in our typography article. Check it out!
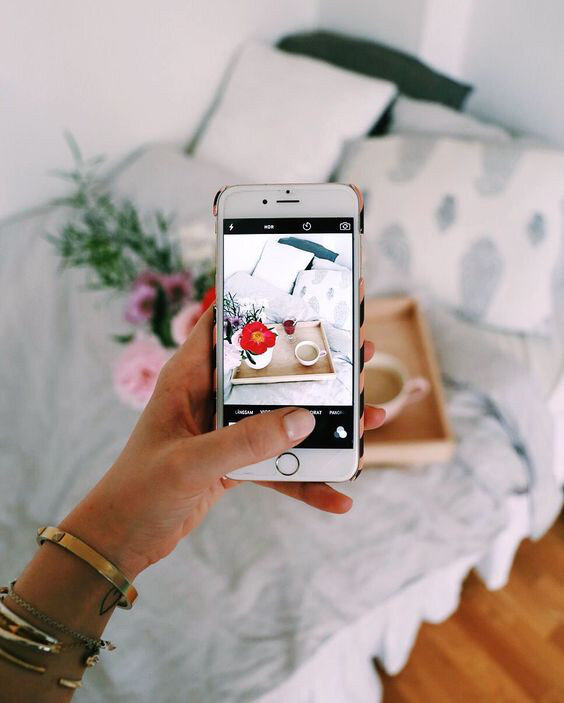
Take a look at this beautiful picture from @charlotteasquith , featuring our Flower Lady Poster!

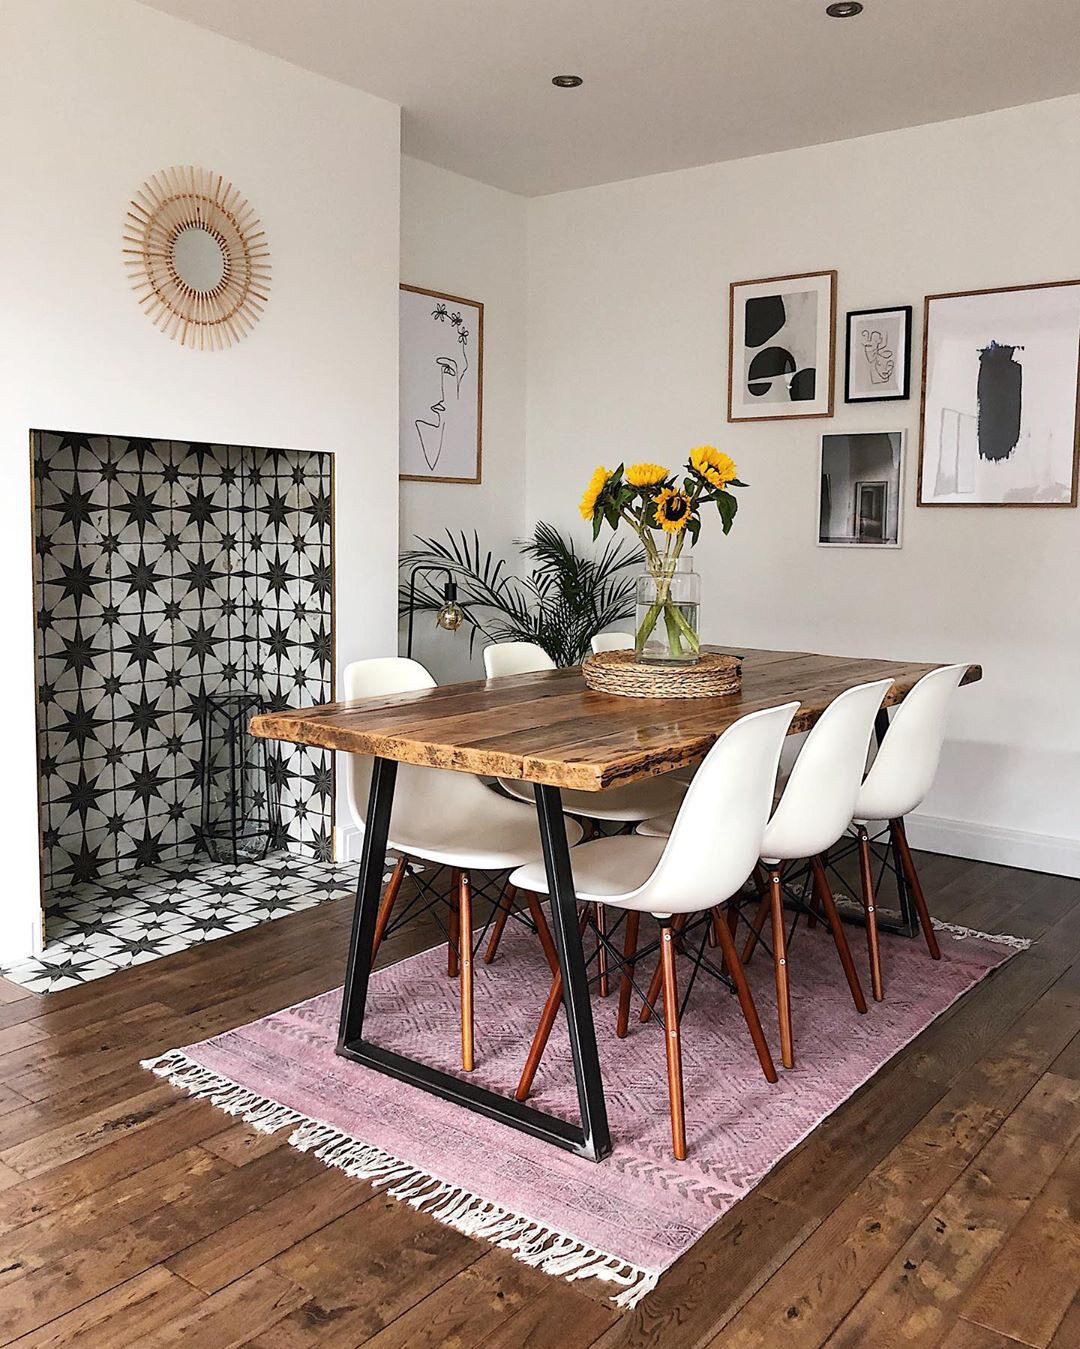
The lovely Modern Abstract Sunrise Poster, featured by @nelplant!
Add depth by taking account of the background too
Yes, the subject of your photo is important. But, to take it to the next level, have a think about what’s in the background too! It’s important that your background isn’t busy, because we don’t want it becoming star of the show after all! Instead, think before cropping out all the sky or the fields beyond the flower you’re getting a snap of. A bit of background helps to frame an image beautifully and give your eyes a rest so they can really focus on the subject.
Don’t over-do the filters
Photos can start looking over-edited very quickly, especially if you go for it with the filters. Most of the time, it’s best to leave them alone all together. For a more natural look, try changing the individual editing settings instead. The best ones to adjust are;
Brightness, if your photo could benefit from a bit of sunshine.
Contrast, to add some depth to a photo you’ve started editing.
Saturation, if you want to subtly intensify the colours in the image.
Fade, if you’re worried an overly-bright photo will stick out on your feed.
Which apps can I use to boost my Instagram game even more?
Although Instagram’s editing software is top class, sometimes it’s necessary to give your photos that extra bit of umph! Here are some of the best apps you can use to do just that. Each app has a different capability and when they’re used together? Well, that’s a lethal combination!
Change the light levels in specific parts of your photo with Snapseed
If you took an almost perfect image but something’s not quite right, then use Snapseed. This ingenious app allows you to tap on the part of the photo you want to change and independently alter the levels there. This means you can change the brightness, saturation, or contrast in a specific bit of your pic, without altering the whole photo. It’s also really easy to use, just with the tap of your fingers!
Edit whitespace into your photo with POTO
We’ve all been in this situation - your photo’s too wide so you’re stuck with the dilemma of which friend to crop out the sides of the image. This problem can also ‘crop up’ when uploading beautiful landscape shots or photos where you want to preserve every bit of its detail. Instead of having to make the cut, upload your image into an app like POTO. Their Collage feature lets you add white space around your photos so you don’t have to crop anything out for Instagram. That bit of extra white space also stops your feed from looking too busy. It’s great!
For a really reliable, everything-covered app, try VSCO
You may have heard of VSCO girls. But, do you know about the app they got their name from? VSCO is a brilliant image-editing app which provides you with everything you need if Instagram editing isn’t quite cutting it. They even have their own online community which some may say is more dedicated to high-quality photography when compared to Instagram.

What’s the best way to enjoy Instagram, without letting it take over?
Taking photographs is fun. But, we all know that Instagram can get a bit overwhelming sometimes. So, we just wanted to finish this article with a couple of tips on how to make sure Instagram stays fun, rather than becoming demoralising.

Limit the amount of time you spend on Instagram each day
On average, people spend 53 minutes a day scrolling through Instagram. Let’s face the facts - this can’t be good. Luckily, Instagram itself lets us put limits on how long we spend on there. If you click on the Instagram side bar and then click Your activity, you can see the average amount of time you spend on Insta daily. From here, it’s also possible to set a daily reminder to be sent when you’ve reached the time you set for yourself. This might feel a bit extra. But, small actions can help you have much healthier relationships with your social media accounts.
Unfollow or mute accounts that don’t make you feel good about yourself
We all know that there are some things we don’t respond well to. What’s the point in subjecting yourself to imagery that might make you sad? There’s an easy way around this. Unfollow the accounts that don’t bring you happiness when you see their posts. If you don’t feel you can unfollow, it’s easy to mute profiles too. With a happier feed, you’re being kinder to yourself as you scroll through it.
Try to enjoy taking photos, rather than obsessing over like counts
Photography can be such a fun hobby! And, if we make it into a hobby rather than a necessity, that’s when Instagram is fun. You know that if you’ve enjoyed taking the photos you post, you won’t be as bothered about how many likes they get. So, keep this in mind when you take your pics. It’s all meant to be fun after all! Take a look at our article on keeping a minimalist lifestyle to understand more about the benefits of living simply and looking after ourselves first.
That’s everything for our Insta 101! Now, you have everything you need to take the perfect Instagram pic. Yes, it’s great to get a good shot, but it’s equally important to enjoy the process too!
Make sure you tag us if you take pics of your lovely Project Nord posters! We can’t wait to see what you come up with!
Written by Jessica Slater
Images sourced from credited Instagrams and Upsplash.